You’ll set up your steam cleaner by filling the basin with distilled water and ensuring the cord stays unplugged. Select appropriate surfaces—avoid marble, hardwood, and delicate fabrics. Control steam intensity based on material type: use microfiber cloths on tiles, small brushes on grout, and short bursts on appliances. Most standard tanks provide one to two hours of continuous operation. Descale every 2-3 months using one-third white vinegar mixed with two-thirds water. Understanding pressure regulation and nozzle maintenance techniques will maximize your machine’s performance.
Set Up Your Steam Cleaner in 10 Minutes
You’ll want to start by setting up your steam cleaner on a flat, level surface where you can work without interruption. Guarantee the electrical cord remains unplugged during preparation. Once the unit cools, remove the water basin cap and gather your measuring cup and funnel if included.
Fill the basin with distilled water to prevent mineral buildup and maintain consistent heat distribution. Measure the exact capacity—typically 6 oz for handheld units or up to half-gallon for larger models—to achieve perfect filling levels. Pour the pre-measured water carefully without overfilling, then secure the cap tightly. Never add cleaning solutions or chemicals to your steam mop, as adding cleaning solutions can damage internal components and void the warranty. Refer to your instruction booklet or manual for specific part assembly details if your unit requires attaching accessories. Regular microfiber pad cleaning after each use will help maintain optimal performance of your steam cleaner. Always test your steam cleaner on inconspicuous areas first to ensure surface compatibility before applying steam to your primary cleaning surfaces.
Connect your steam cleaner to a grounded three-prong outlet and plug in the cord only after the lid secures fully. Flip the power switch to activate heating. Watch for the red indicator light confirming readiness. Your setup’s now complete and ready for cleaning.
What NOT to Clean (and Why It Matters)
Before firing up your steam cleaner, it’s critical to identify surfaces that shouldn’t be treated with steam, as improper application can cause permanent damage or create safety hazards. Avoid unsealed hardwood, marble, and natural stone floors, which absorb moisture and warp. Skip delicate surfaces like silk upholstery, velour fabrics, and water-based painted walls that heat damages irreversibly. Never direct steam toward electrical outlets or devices—the moisture-heat combination shorts circuits and causes shock risks. Keep combustible materials away from steam exposure, including rubber, cardboard, paper, and flammable liquids that ignite easily. Don’t point the nozzle at people or animals. Always unplug nearby electronics before cleaning surrounding areas and test inconspicuous zones first on hard floors per manufacturer guidelines. Even sealed hardwood floors can suffer warping and discoloration from prolonged steam exposure, making safer alternatives like microfiber mops preferable for wood surfaces. Engineered hardwood is particularly vulnerable because its multiple bonded layers can experience delamination when exposed to excessive moisture and heat. Additionally, never use chemicals inside the machine as they can damage internal components and create hazardous fumes when combined with heat.
Master the Right Technique for Every Surface
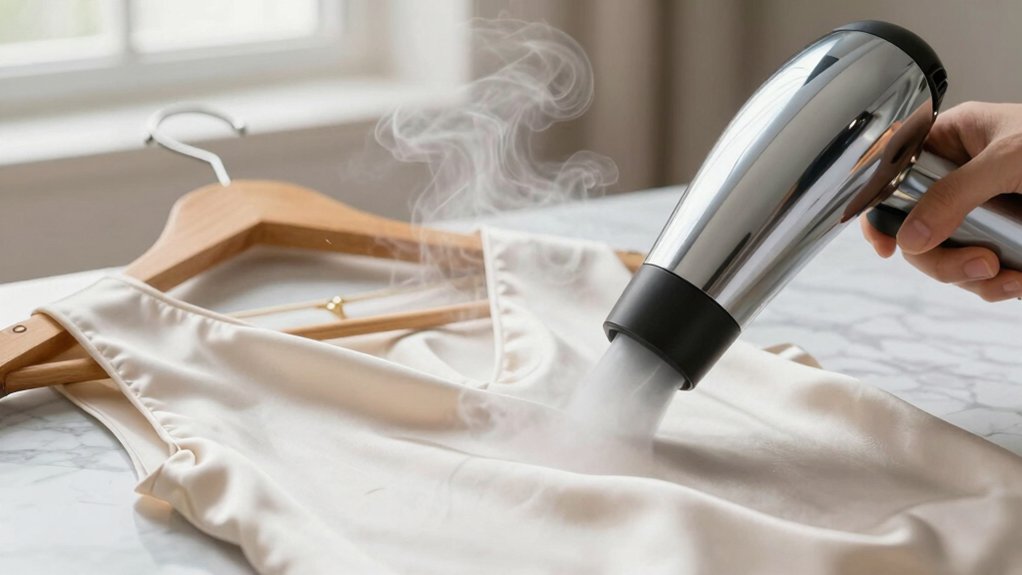
Now that you’ve identified which surfaces to avoid, it’s time to focus on the ones that’ll benefit most from steam cleaning. Master your trigger settings to control steam intensity and moisture output for different materials. Adjust your cleaning angles based on surface texture—use perpendicular passes on flat tiles and grout lines, angling your tool at 45 degrees for crevices. Attach microfiber cloths to all four corners of your floor tool for ceramic tiles, then work slowly in sections. For grout, employ small brushes while maintaining steady steam pressure to dislodge embedded dirt. On kitchen appliances, use targeted, short bursts to cut grease without oversaturating. For bathroom fixtures, employ narrow nozzles on faucets and brush attachments on stubborn shower grime. Calcium buildup on sinks and faucets can be effectively removed through steam cleaning to restore their original appearance. Always test a small section first to ensure the surface can withstand high-temperature vapor without damage. Remember to wear protective gloves when handling the steam cleaner to avoid burns from the hot vapor and surfaces. Precision timing and proper technique yield superior results.
Calculate Your Cleaning Time: Tank Capacity Guide
Determining how long you can clean depends entirely on your steam cleaner’s tank capacity, which directly impacts your workflow effectiveness and project timeline. Standard residential tanks holding 1-2L support one to two hours of continuous cleaning, while compact models with 54oz capacity provide approximately 50 minutes per fill.
Refill frequency considerations are critical for sustaining productivity. Units holding only one cup require refilling every 15 minutes, creating workflow interruptions. Half-gallon capacity tanks eliminate frequent stops during large projects. Two-tank systems enable uninterrupted operation by separating clean water reservoirs from heated boilers. Dual tanks separating clean and dirty water significantly improve sanitation standards throughout your cleaning process. The high temperatures achieved by steam cleaners are effective at killing bacteria, dust mites, mold, and other pathogens, making the water separation in dual-tank systems particularly important for maintaining pathogen elimination throughout your cleaning.
Matching tank size to project scope guarantees optimal efficiency. Smaller homes need 1L tanks, while larger residences require 1.5-2L capacities. The Sharper Image SI-380 with its 54 oz water capacity offers ideal performance for standard residential cleaning tasks. Premium models like the Dupray Neat Steam Cleaner deliver extended cleaning sessions with their larger tank capacity and up to 50 minutes of runtime per fill. Commercial kitchens and extended cleaning sessions exceeding two hours demand continuous refill systems or larger tanks to maintain consistent productivity.
Descale and Maintain Your Machine for Peak Performance
Why does your steam cleaner’s performance decline over time? Mineral buildup from tap water accumulates inside your machine’s boiler and nozzles, reducing steam output and efficiency.
Establish a maintenance schedule importance by descaling every 2-3 months, or monthly with frequent use. Mix one-third white vinegar with two-thirds water, heat the solution for 1-2 hours, then steam briefly before draining completely. Flush with clean water afterward to remove residues. While vinegar can be used in diluted solutions for descaling purposes, many manufacturers recommend checking your specific machine’s guidelines since vinegar can damage internal components of some steam mop models.
Implement proper storage procedures by emptying your tank after each use and allowing complete cooling before maintenance. Use distilled water exclusively to minimize deposits. Inspect hoses, nozzles, and the boiler for leaks or corrosion regularly. Clean nozzle blockages immediately and wipe the exterior weekly. For optimal pad performance, wash steam mop pads after each use or every few uses depending on dirt levels to prevent residue buildup that reduces cleaning effectiveness. Monitor for reduced steam output or unusual noises, addressing issues promptly to maintain peak performance. Removing stagnant water after each use is a necessary precaution to prevent mineral accumulation and maintain your steamer’s effectiveness. Regular descaling of the unit periodically ensures consistent performance and extends your machine’s lifespan.
Why Your Steam Cleaner Isn’t Building Pressure (and How to Fix It)
When your steam cleaner fails to generate adequate pressure, you’re likely experiencing one of several common mechanical issues that prevent proper operation. A clogged inlet filter restricts water flow, directly reducing outlet pressure. Inspect and clean this filter regularly, exhausting any trapped air through proper system priming. A worn intake hose may develop cracks or leaks, compromising water delivery to your machine. Replace damaged hoses immediately.
Additionally, verify your pressure regulating valve‘s positioned at the high-pressure setting before operation. Check that your water supply provides adequate flow rates to the equipment. Examine high-pressure nozzles for excessive wear patterns; deteriorated nozzles diminish pressure output considerably. Replace worn nozzles promptly. For optimal performance, fill your steam cleaner with distilled water and white vinegar solutions that won’t leave mineral deposits clogging internal components. Steam cleaners eliminate the need for harsh chemicals while sanitizing surfaces effectively. Allow adequate heating time before beginning your cleaning session to ensure the machine reaches full operating temperature.
Finally, inspect overflow valves and water seals for deterioration or leakage, as these failures cause substantial pressure loss during cleaning cycles. High and low-pressure water seal leakage significantly compromises your machine’s ability to maintain consistent operating pressure throughout extended cleaning sessions.
5 Techniques for Streak-Free Cleaning and Longer Machine Life
Once you’ve resolved your steam cleaner’s pressure issues, you’re ready to master the cleaning techniques that’ll deliver professional results while protecting your equipment’s longevity. For streak-free windows and mirrors, apply steam directly, then scrape downward with your squeegee in multiple passes. Wipe your squeegee periodically to prevent streak accumulation, and finish with a yellow microfibre cloth. When tackling grease buildup, combine steady scrubbing with continuous steam application at high-pressure settings. Change your microfibre cloths as grease accumulates. For limescale prevention, descale your machine regularly using a baking soda solution through the entire system, then flush with distilled water. Microfiber cloths provide thorough cleaning when used consistently throughout your maintenance routine, with research showing that microfiber removes up to 99% of bacteria compared to traditional cleaning materials. Consider using machine washable and reusable pads designed for steam mops to reduce waste while maintaining consistent cleaning performance. For even greater sustainability, explore reusable microfiber mop pads that offer eco-friendly alternatives to disposable refills across various cleaning applications. Cool your equipment completely before storage to maximize longevity and maintain peak performance.